Microsoft PKI setup with YubiHSM2
Over the past few weeks, I’ve been setting up a test PKI setup for a client, consisting of an offline ROOT CA and an Enterprise SUB CA.
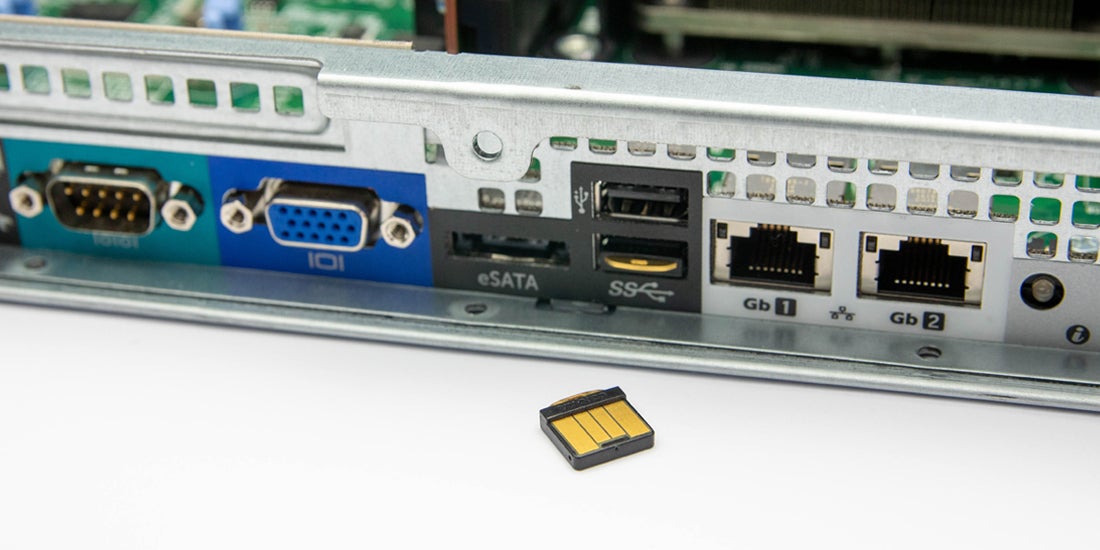
For the offline ROOT CA, we wanted to further protect the private key by placing it on a hardware HSM. There are several brands on the market, ranging from €500 to over €10,000. Since we needed two, we have chosen a cheaper price/quality option, the YubiHSM2.
After installing the YubiHSM2 software and tools, we first need to change the password by starting the yubihsm-shell because the default one (password) is pretty easy.
# Connect (using default ID 0001 and old password)
yubihsm> connect
yubihsm> session open 0001 password

# Change the password (e.g., from 'password' to 'newpassword')
yubihsm> change authkey 0001 newpassword

# Close session & exit
yubihsm> session close 0
yubihsm> exit
After that, you have to change the password in the registry of the offline root CA as well under HKEY_LOCAL_MACHINE\SOFTWARE\Yubico\YubiHSM.
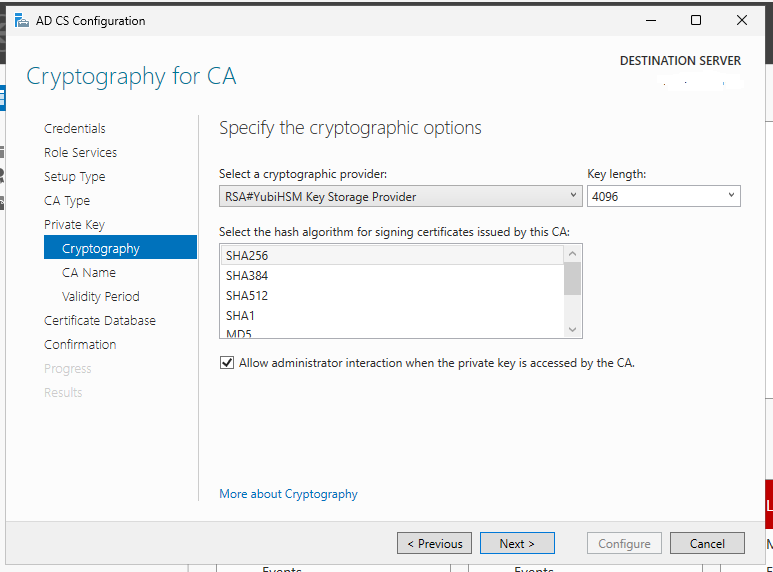
Now we can start installing and configuring the Certificate Authority role. When we need to choose the cryptographic provider during configuration, we select RSA#YubiHSM Key Storage Provider. In the same step, select the option to Allow administrator interaction when the private key is accessed by the CA. This allows the private key to be exported for backup purposes (so it can be restored to another server).
It’s really not much more than that, but since we wanted to be on the safe side, we wanted to have a backup of the newly created private key on the YubiHSM2, and then the problems started.
Despite following the steps in the documentation, we couldn’t export the private key. After a long search, we discovered that spaces in command options were causing the problem.
Below, I’ll provide the correct steps for exporting a Microsoft private key from your primary YubiHSM2 and importing it into your backup YubiHSM2.
Backup
$ yubihsm-shell -a get-pseudo-random --count=32 --out=wrap.key | Generate a pseudo-random number from the YubiHSM2 and save it to a file. This is the wrap key. |
$ yubihsm-shell -a put-wrap-key --capabilities export-wrapped,import-wrapped --delegated=sign-pkcs,sign-pss,decrypt-pkcs,exportable-under-wrap --in=wrap.key | Import this wrap key into the primary YubiHSM2 |
$ yubihsm-setup dump | Get the object id of the CA’s private key using the full YubiHSM2 dump. |
$ yubihsm-shell -a get-wrapped --wrap-id=0xd581 --object-id=0x6e77 -t asymmetric-key --out=key_rootca.yhw | Create an encrypted backup of the Asymmetric Key in the file key_rootca.yhw |
Restore
$ yubihsm-shell -a put-wrap-key -A aes256-ccm-wrap -c export-wrapped, import-wrapped --delegated=sign-pkcs,sign-pss,decrypt-pkcs,exportable-under-wrap --in=wrap.key -i 0xd581 ... Stored Wrap key 0xd581 | Import the wrap key into the YubiHSM2 backup |
$ yubihsm-shell -a put-wrapped --wrap-id=0xd581 --in=key_rootca.yhw ... Object imported as 0x6e77 of type asymmetric-key | Import the Asymmetric Key into the YubiHSM2 backup. |
Now both YubiHSM2 hardware HSM devices can be used for the offline root CA.